Simple recipes for making chemical-free cleaning products that actually work.
Introduction: Why Choose Natural Cleaning Products?
Health Benefits
Conventional cleaners often contain harsh chemicals linked to indoor air pollution, respiratory issues, and skin irritation. Natural alternatives eliminate these health risks while providing equally effective cleaning power for your family’s wellbeing.
Environmental Impact
DIY natural cleaners use biodegradable ingredients that don’t harm waterways or contribute to environmental pollution. By choosing natural solutions, you’re protecting both your home and the planet for future generations.
Cost Savings
Making your own cleaners saves money, reduces plastic waste, and gives you complete control over what goes into your home. Simple ingredients like vinegar and baking soda cost pennies compared to commercial alternatives.
The shift toward natural cleaning isn’t just a trend—it’s a lifestyle choice that prioritizes health, sustainability, and effectiveness. Traditional cleaning products may promise powerful results, but they often come at the cost of introducing volatile organic compounds (VOCs) and synthetic fragrances into your living space. These chemicals can trigger allergies, asthma, and other respiratory conditions, particularly affecting children and elderly family members who spend more time indoors.
Natural cleaning ingredients work through simple chemistry principles that have been trusted for generations. Acids like vinegar dissolve mineral deposits and soap scum, while alkaline substances like baking soda neutralize odors and cut through grease. Essential oils provide antimicrobial properties along with pleasant, therapeutic scents that don’t overwhelm sensitive individuals or pets.
Understanding the Basics: Types of Natural Cleaning Ingredients
Acids
Examples: White vinegar, lemon juice, citric acid
These natural acids excel at breaking down mineral deposits, rust, and hard water stains. They’re particularly effective on glass, tiles, and brass surfaces. The acetic acid in vinegar dissolves soap scum and lime scale, while citric acid from lemons provides additional antibacterial properties.
Bases/Alkalis
Examples: Baking soda, washing soda, borax
Alkaline substances are excellent for cutting through grease, dirt, and neutralizing odors. Baking soda’s mild abrasive properties make it perfect for scrubbing without scratching delicate surfaces. Washing soda provides extra cleaning power for heavily soiled items.
Natural Detergents
Examples: Castile soap, vegetable-based soaps
Plant-based soaps remove dirt and grease gently without synthetic chemicals or harsh sulfates. Castile soap, made from olive oil, provides effective cleaning while being biodegradable and safe for sensitive skin.
Natural Abrasives
Examples: Baking soda, coarse salt, cream of tartar
These gentle abrasives provide scrubbing power without scratching surfaces like harsh commercial cleansers might. They work mechanically to remove stuck-on food, stains, and grime from various surfaces.
Natural Disinfectants
Examples: Hydrogen peroxide, tea tree oil, witch hazel
These ingredients help reduce bacteria and freshen surfaces naturally. Hydrogen peroxide breaks down into water and oxygen, making it environmentally safe while providing antimicrobial action.
Essential Oils
Examples: Tea tree, lavender, eucalyptus, lemon
Essential oils add antibacterial properties and pleasant scents to your cleaners. However, use them cautiously around pets and sensitive individuals, as some oils can be irritating or toxic to animals.
Understanding how these ingredients work individually and in combination is key to creating effective natural cleaning solutions. The science behind natural cleaning relies on pH levels, molecular interactions, and mechanical action rather than synthetic chemicals that can leave harmful residues.
Safety First: Tips for Using DIY Cleaners at Home
Never Mix Certain Chemicals
Never mix bleach with ammonia or other chemicals—toxic fumes can result that are dangerous to inhale. Even natural ingredients can create harmful reactions when combined incorrectly. Keep ingredients separate until you’re ready to use proven recipes.
Label Everything Clearly
Label all homemade cleaning solutions clearly with ingredients, date made, and intended use. Store them safely away from children and pets in cool, dry places. Use permanent markers and waterproof labels to prevent confusion.
Test Before Using
Test cleaners on small, inconspicuous areas before widespread use, especially on delicate or expensive surfaces. Different materials may react differently to natural acids or bases, so testing prevents damage.
Use Hot Water When Possible
Use hot water to boost cleaning effectiveness of most natural ingredients. Heat helps dissolve grease, activate cleaning agents, and kill germs more effectively than cold water alone.
Know What to Avoid
Avoid using acidic cleaners like vinegar on natural stone (marble, granite), waxed wood, or aluminum surfaces. These materials can be damaged or discolored by acidic solutions over time.
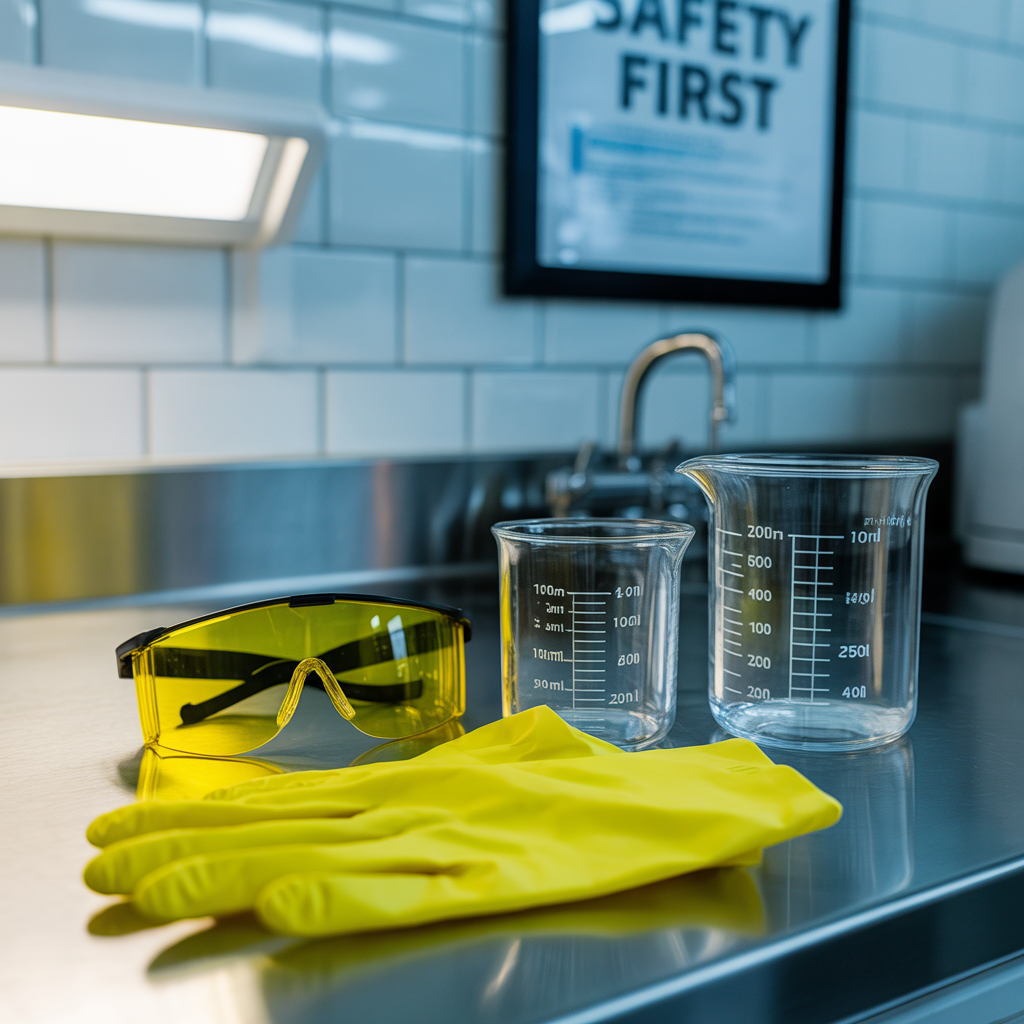
Essential Safety Equipment
- Rubber gloves to protect hands
- Safety glasses for mixing or spray applications
- Well-ventilated workspace
- Measuring cups and spoons dedicated to cleaning
- Glass or plastic spray bottles (never metal with acidic solutions)
Safety doesn’t end with the mixing process. Consider the long-term storage of your homemade cleaners, keeping them in original containers or clearly marked bottles. Most natural cleaners have shorter shelf lives than commercial products, so make smaller batches and use them within a few months for best effectiveness.
Simple All-Purpose Cleaner Recipe
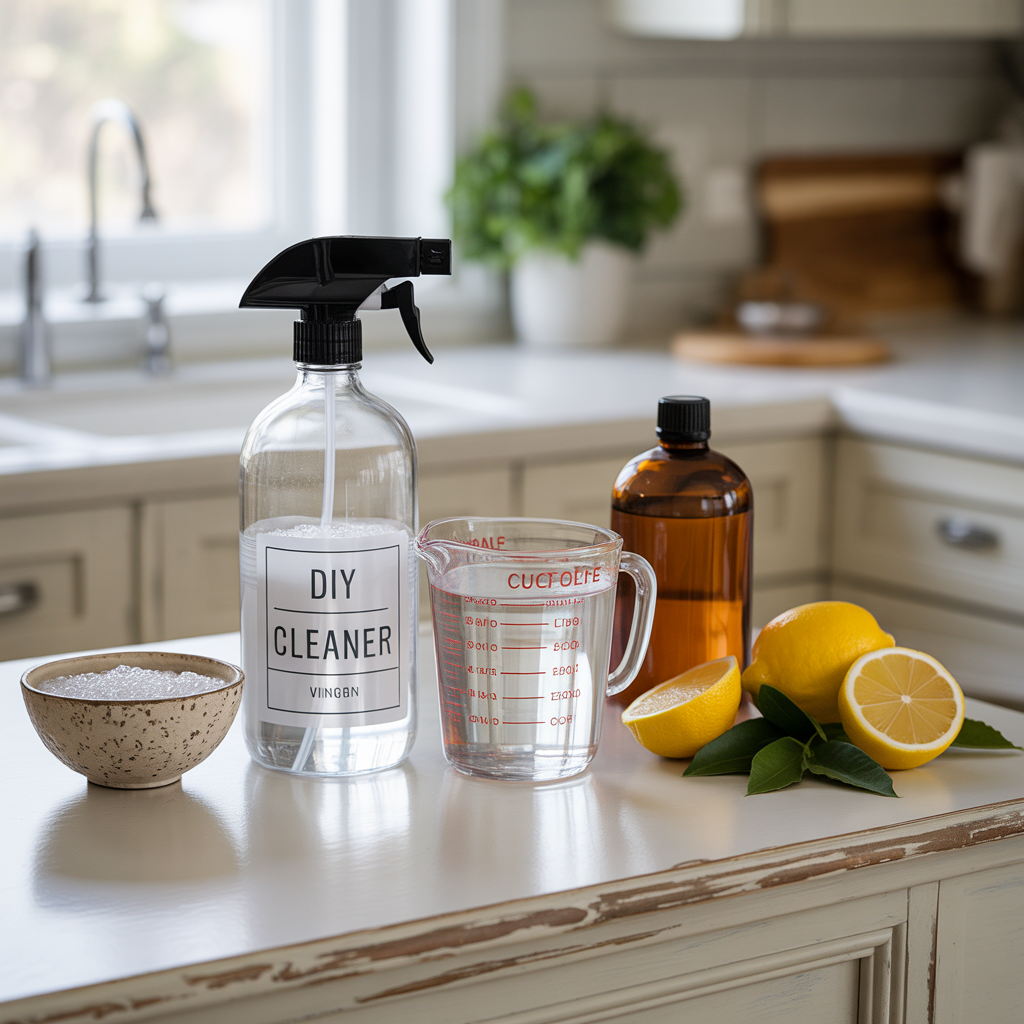
Ingredients Needed
- 1/4 cup white distilled vinegar
- 1 teaspoon castile soap or phosphorous-free dish soap
- 2 cups boiled or distilled water (cooled)
- 12-20 drops of your favorite essential oil (optional)
Prepare Your Container
Choose a clean spray bottle, preferably glass or high-quality plastic. Rinse thoroughly with hot water and let dry completely before adding ingredients.
Add Liquid Ingredients
Pour the cooled boiled water into your spray bottle first, followed by the white vinegar. The water should be at room temperature to prevent the bottle from cracking.
Include Soap and Oils
Add the castile soap and essential oils if using. Essential oils like lemon, lavender, or tea tree not only provide scent but also add antimicrobial properties to your cleaner.
Mix and Test
Shake well before each use to ensure all ingredients are properly combined. Test on a small area first, then use on countertops, sinks, and other hard surfaces.
This versatile cleaner works effectively on most non-porous surfaces including laminate countertops, appliances, and bathroom fixtures. The combination of vinegar and soap creates a balanced pH that cuts through grease while being gentle enough for regular use. Store this cleaner for up to three months in a cool, dark place.
For enhanced antibacterial properties, consider adding a tablespoon of hydrogen peroxide to the mixture. However, store this version in a dark bottle and use within one month, as hydrogen peroxide breaks down when exposed to light. This all-purpose cleaner costs approximately 50 cents to make compared to $3-5 for commercial equivalents.
Natural Glass and Mirror Cleaner

Essential Ingredients
- 2 cups water
- 1/2 cup white vinegar or apple cider vinegar
- 1/4 cup rubbing alcohol (70% concentration)
- 1-5 drops citrus essential oil (optional)
Simple Instructions
- Mix all ingredients in a spray bottle and shake well
- Spray evenly on glass surfaces
- Wipe with a soft cloth using an “S” pattern
- Avoid cleaning in direct sunlight to prevent streaking
Pro Tips for Best Results
- Use distilled water to prevent mineral spots
- Microfiber cloths work better than paper towels
- Clean windows on cloudy days for best results
- Buff with newspaper for extra shine
The secret to streak-free windows lies in the rubbing alcohol, which helps the solution evaporate quickly and evenly. This prevents the formation of water spots and streaks that can occur with commercial glass cleaners containing synthetic surfactants. The vinegar cuts through film and residue while being completely biodegradable.
This glass cleaner is particularly effective on bathroom mirrors that accumulate soap residue and water spots. The mild acidity dissolves mineral deposits from hard water while the alcohol ensures rapid drying. For heavily soiled glass, spray the solution and let it sit for 30 seconds before wiping to allow the acids time to work.
Cost comparison shows remarkable savings: this homemade version costs about 25 cents per bottle compared to $4-6 for premium commercial glass cleaners. The results are equally impressive, with many users reporting superior streak-free performance compared to store-bought alternatives.
Creamy Soft Scrub for Tough Stains
Measure Base Ingredients
Start with 2 cups baking soda as your abrasive base. This provides gentle scrubbing power without scratching surfaces like harsh commercial cleansers.
Add Liquid Soap
Gradually add 1/2 to 2/3 cup liquid castile soap until you achieve a thick, creamy consistency that holds together but spreads easily.
Include Preservative
Mix in 4 teaspoons vegetable glycerin to help preserve the mixture and maintain the creamy texture over time. Add 5 drops of essential oil for scent.
Store and Use
Store the paste in a sealed jar for up to 6 months. Apply with a sponge or cloth, let sit on tough stains, then scrub gently and rinse.
Best Applications
- Kitchen counters and sinks
- Bathtub and shower stalls
- Ceramic tile and grout
- Stainless steel appliances
- Toilet bowls and bathroom fixtures
Enhanced Cleaning Method
For stubborn stains, spray white vinegar on the area first and let it sit for 5 minutes. The acid will begin breaking down mineral deposits and soap scum. Then apply this creamy scrub and let it work for another 5 minutes before scrubbing.
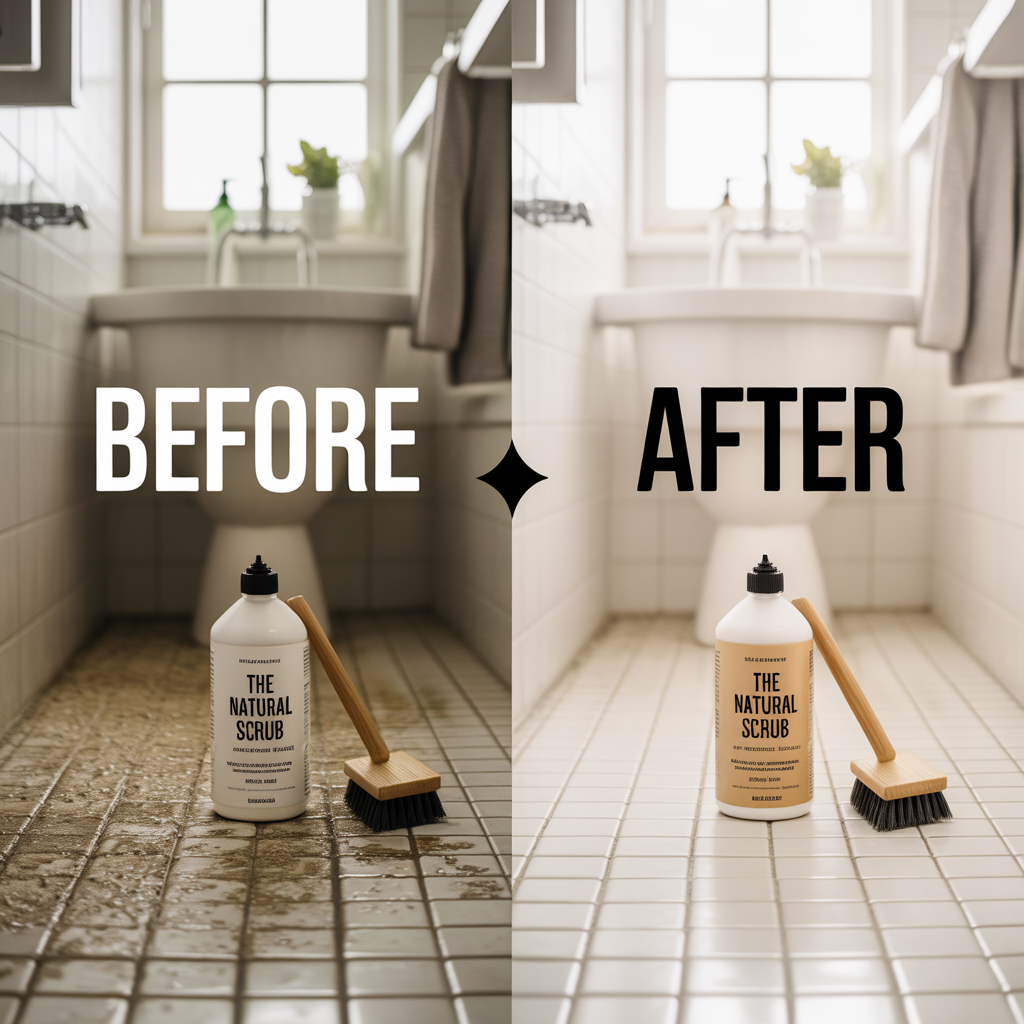
This creamy scrub combines the cleaning power of baking soda with the degreasing properties of castile soap. The glycerin acts as a natural preservative while keeping the mixture from drying out. Essential oils like tea tree provide additional antimicrobial benefits, while lavender or rosemary add pleasant, therapeutic scents.
The consistency should be similar to commercial soft scrub cleaners but without the harsh chemicals, synthetic fragrances, or plastic microbeads that can harm waterways. This natural version is safe for septic systems and won’t contribute to environmental pollution when rinsed down the drain.
Homemade Laundry Detergent and Fabric Softener

Powder Laundry Detergent
Ingredients:
- 1 cup soap flakes (grated castile soap)
- 1/2 cup washing soda
- 1/2 cup baking soda
Usage: Use 1 tablespoon per load in regular machines, 2 tablespoons for heavily soiled items. Add oxygen bleach for natural whitening power.
Natural Fabric Softener
Ingredients:
- 2 cups distilled white vinegar
- 20-30 drops essential oils (lavender, eucalyptus, or lemon)
Usage: Add 1/4 to 1/2 cup to the rinse cycle for soft, static-free clothes. The vinegar smell disappears as clothes dry.
Prepare Soap Flakes
Grate a bar of pure castile soap using a cheese grater or food processor. Choose unscented varieties to avoid overwhelming fragrances. One bar typically yields about 1 cup of flakes.
Mix Dry Ingredients
Combine soap flakes with washing soda and baking soda in a large bowl. Mix thoroughly to ensure even distribution. Store in an airtight container to prevent moisture absorption.
Test and Adjust
Start with smaller loads to test effectiveness. Hard water may require slightly more detergent, while soft water needs less. The mixture should dissolve completely in warm or hot water.
This homemade laundry detergent costs approximately $0.10 per load compared to $0.25-0.50 for commercial detergents. The washing soda boosts cleaning power by softening water and breaking down oils, while baking soda neutralizes odors and brightens fabrics naturally.
The vinegar-based fabric softener works by removing soap residue and mineral deposits that make clothes feel stiff. It’s particularly beneficial for people with sensitive skin who react to commercial fabric softeners containing synthetic fragrances and chemicals. Essential oils provide natural fragrance and some varieties offer additional benefits like antimicrobial properties from tea tree oil or calming effects from lavender.
Additional Eco-Friendly Cleaning Tips and Tricks
Microfiber Magic
Use microfiber cloths to reduce cleaning time and avoid chemical residues. These cloths can remove 99% of bacteria with just water, making them perfect partners for natural cleaners. Wash them separately and avoid fabric softeners that reduce their effectiveness.
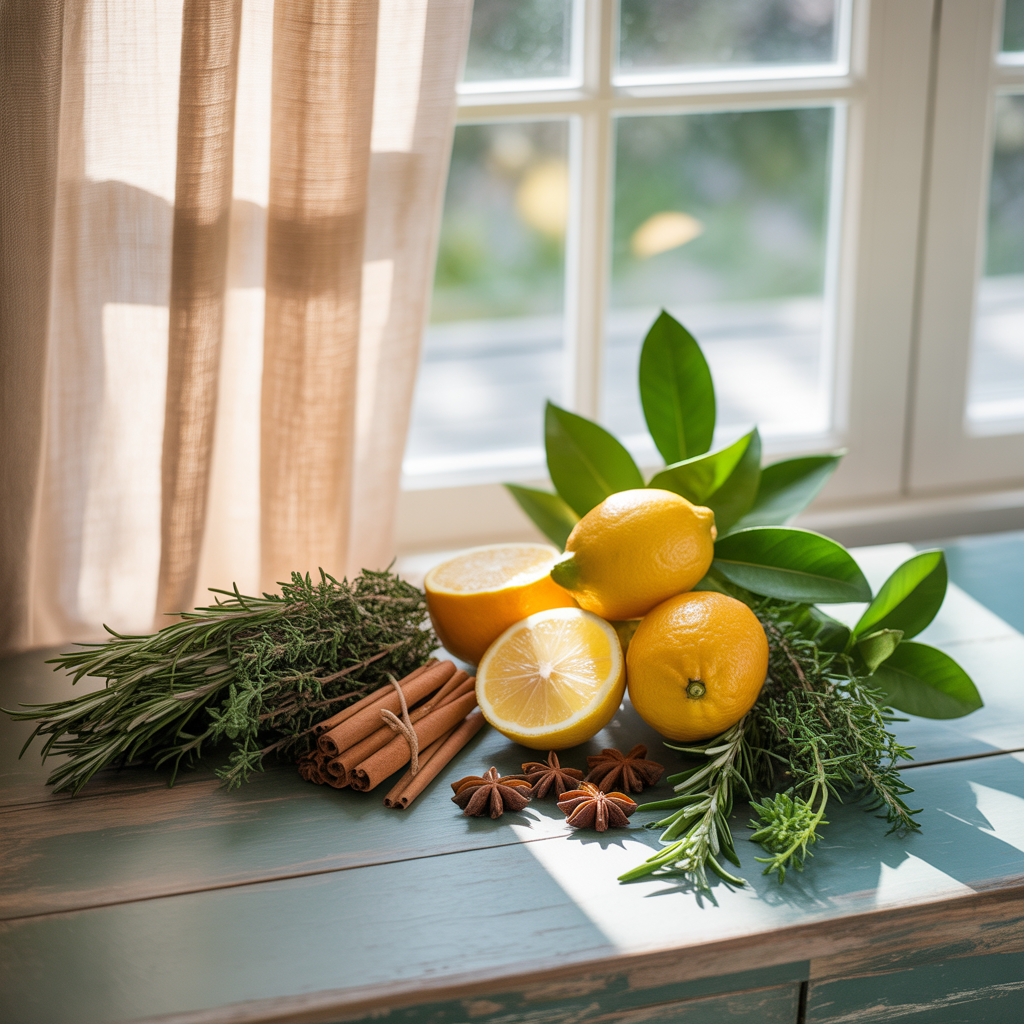
Natural Air Freshening
Simmer spices like cinnamon and cloves, or boil lemon peels to naturally freshen indoor air. This eliminates odors without synthetic fragrances or aerosol chemicals that can trigger respiratory sensitivities.
Drain Maintenance
Regularly clean drains with a baking soda and vinegar mixture followed by boiling water to prevent clogs. Pour 1/2 cup baking soda down the drain, add 1/2 cup vinegar, cover for 30 minutes, then flush with hot water.
Smart Mixing and Storage Tips
Avoid over-mixing homemade cleaners and prepare only what you need to maintain effectiveness. Most natural cleaners are best used fresh, as they lack the preservatives found in commercial products. Store in cool, dark places and label with preparation dates.
Consider making single-use packets for convenience. Mix dry ingredients like baking soda and citric acid in small bags, then add water when ready to use. This prevents degradation while maintaining the convenience of commercial products.
Seasonal Cleaning Strategies
- Spring: Focus on deep-cleaning with hydrogen peroxide solutions
- Summer: Use citrus-based cleaners that provide cooling scents
- Fall: Incorporate warming spices like clove and cinnamon
- Winter: Add tea tree oil for extra antimicrobial protection
Temperature plays a crucial role in natural cleaning effectiveness. Warm solutions work faster and more thoroughly than cold ones, so heating your homemade cleaners slightly can improve performance. However, never heat essential oils directly as this can destroy their beneficial properties.
Create a cleaning schedule that rotates different natural solutions to prevent any single area from developing resistance to particular ingredients. This approach ensures consistent cleanliness while maximizing the effectiveness of your homemade products.
Conclusion: Embrace a Healthier, Greener Home Today

Powerful & Affordable
DIY natural cleaning products offer a powerful, affordable, and environmentally responsible alternative to commercial cleaners. With ingredients costing 75% less than store-bought equivalents, you’ll save hundreds of dollars annually while achieving superior results.
Simple & Effective
With simple ingredients and easy recipes, anyone can maintain a sparkling clean home without toxic chemicals. These time-tested formulas rely on basic chemistry principles that have proven effective for generations of homemakers.
Safe & Sustainable
Start small, experiment with recipes, and enjoy the benefits of a safer, fresher living space. Your family’s health and the environment will thank you for choosing natural solutions that protect both people and planet.
The journey toward natural cleaning doesn’t require a complete lifestyle overhaul overnight. Begin by replacing one or two commercial products with homemade alternatives, then gradually expand your natural cleaning arsenal as you gain confidence and experience. Many families find that starting with the all-purpose cleaner and glass cleaner provides the foundation for most household cleaning needs.
Remember that natural cleaning is not just about the products you use—it’s about creating a mindful approach to home maintenance. This includes using reusable cleaning cloths instead of disposable wipes, choosing quality ingredients that last longer, and understanding that effective cleaning often requires slightly more time and attention than simply spraying and wiping with harsh chemicals.
Week 1: Start Simple
Replace your all-purpose cleaner with the homemade version. Use it for one week to gauge effectiveness and adjust the recipe to your preferences.
Week 2: Add Glass Cleaner
Introduce the natural glass and mirror cleaner. Practice the proper wiping technique to achieve streak-free results.
Week 3: Tackle Tough Stains
Make the creamy soft scrub for bathroom and kitchen deep cleaning. Test on various surfaces to understand its capabilities.
Month 2: Expand Your Arsenal
Add homemade laundry detergent and fabric softener to complete your natural cleaning routine.
The environmental impact of switching to natural cleaners extends beyond your home. By reducing demand for products packaged in single-use plastic containers and manufactured with petroleum-based chemicals, you’re contributing to a larger movement toward sustainable living. Each batch of homemade cleaner represents a small but meaningful step toward reducing your household’s ecological footprint.
Success Tip: Keep a cleaning journal during your first month of natural cleaning. Note which recipes work best for different tasks, any adjustments you make, and the cost savings you observe. This record will help you refine your approach and motivate continued use of natural alternatives.
Hashtags
#NaturalCleaning #EcoFriendlyHome #DIYCleaners #GreenCleaning #ChemicalFree #HomemadeCleaners #SustainableLiving #NonToxicHome #EssentialOils #ZeroWasteCleaning

Leave a comment