Transform your music from good to great with the art and science of professional audio mastering. This comprehensive guide reveals the techniques that separate amateur recordings from commercial-ready masters.
Introduction: What Is Audio Mastering and Why It Matters
The Final Polish
Audio mastering is the final critical step in music production, transforming a polished mix into a professional-sounding master ready for distribution. It’s the bridge between your creative vision and commercial release.
Beyond Mixing
Unlike mixing, which balances individual tracks, mastering enhances the overall sound, ensuring clarity, loudness, and consistency across all playback systems from earbuds to stadium speakers.
Competitive Edge
Proper mastering can make your music competitive on streaming platforms, radio, and physical media, directly impacting listener experience and commercial success in today’s saturated market.
Think of mastering as the final quality assurance for your music. While your mix might sound great in your studio, mastering ensures it translates beautifully across every listening environment. A well-mastered track maintains its impact whether it’s played through high-end studio monitors, car speakers, or smartphone earbuds. This consistency is what separates professional releases from bedroom recordings.
The mastering process involves subtle but crucial adjustments to frequency balance, dynamics, stereo width, and overall loudness. These refinements can dramatically improve how your music feels and sounds to listeners. A properly mastered track has presence, clarity, and emotional impact that draws listeners in and keeps them engaged throughout the entire song.
In today’s streaming-dominated landscape, mastering has become even more critical. Platforms like Spotify, Apple Music, and YouTube Music all apply their own loudness normalization, which can dramatically alter how your music sounds if it wasn’t mastered with these standards in mind. Understanding and applying proper mastering techniques ensures your music maintains its intended impact across all platforms.
Understanding the Mastering Engineer’s Role
The Fresh Perspective
Mastering engineers act as fresh ears, applying subtle EQ, compression, limiting, and stereo enhancement to unify and elevate the sound. They bring objectivity that artists and mix engineers may lack after spending countless hours with the material.
Quality Guardian
They perform crucial quality control, catching mix issues like clicks, pops, distortion, or frequency imbalances before release. This final inspection can save your reputation and prevent costly reprints or re-uploads.
The Investment Decision
Professional mastering is surprisingly affordable, often costing $30-$50 per track, making it accessible even for independent artists. While DIY mastering tools have improved dramatically, having a professional review or finalize your work ensures industry-standard results that can compete with major label releases.

A mastering engineer’s trained ear can identify problems and opportunities that even experienced producers might miss. They understand how different frequencies interact across various playback systems and can make adjustments that ensure your music translates well everywhere. Their expertise extends beyond technical knowledge to include aesthetic judgment about what sounds good and what serves the song.
The mastering engineer also serves as a bridge between the creative and technical worlds. They understand the artistic vision while possessing the technical skills to realize it through the mastering chain. This dual perspective allows them to enhance the emotional impact of your music while ensuring it meets all technical standards for distribution.
Many successful artists, even those with extensive technical knowledge, choose to work with mastering engineers because of the value of an outside perspective. The engineer can hear your mix with fresh ears, unclouded by the countless hours you’ve spent perfecting individual elements. This objectivity often leads to improvements that might never have occurred to someone too close to the project.
Preparing Your Mix for Mastering: The Essential First Step
Balance and Dynamics
Ensure your mix is balanced, dynamic, and free from clipping. A good mix is 80% of a great master. Leave adequate headroom with peak levels around -3 to -6 dBFS to allow space for mastering processing without introducing distortion.
Gain Staging Excellence
Use proper gain staging throughout your mix chain and apply stereo imaging techniques thoughtfully. Each element should sit in its own space while contributing to a cohesive whole that tells your musical story.
High-Quality Export
Export your mix as a high-quality stereo file using 24-bit/48kHz or higher resolution in lossless formats like WAV or AIFF. This preserves every detail and gives the mastering engineer maximum flexibility to enhance your sound.

The preparation phase is where many mastering projects succeed or fail before they even begin. A poorly prepared mix will limit what even the best mastering engineer can achieve, while a well-prepared mix provides the foundation for exceptional results. Pay attention to your monitoring environment during mixing – what sounds good in a poorly treated room might not translate well to other systems.
Resist the temptation to over-process your mix in an attempt to make it sound “mastered.” Heavy compression, excessive limiting, or aggressive EQ applied during mixing can actually make the mastering engineer’s job more difficult. Instead, focus on creating a mix that sounds balanced and dynamic, with each element clearly defined and purposeful.
Consider creating multiple versions of your mix for the mastering engineer: a standard stereo mix, an instrumental version, and perhaps versions with different vocal levels. This gives the mastering engineer options to work with and can be particularly valuable for different release formats or if issues are discovered during mastering that require subtle balance adjustments.
Key Mastering Techniques Explained
Equalization (EQ)
Adjust tonal balance by cutting muddiness in the low-mids and enhancing clarity in the presence range. Subtle boosts in the highs can add sparkle and air, while gentle low-end adjustments can provide warmth and foundation without muddiness.
Compression
Control dynamics to glue the mix together without squashing its life. Use gentle ratios (1.5:1 to 3:1) with slow attack and release settings to maintain musicality while achieving cohesion and controlled dynamics.
Limiting
Increase loudness while preventing clipping and distortion. Consider using two limiters in series with gentle settings to reduce artifacts and preserve the natural timbre and transient response of your music.
Stereo Imaging
Use mid-side EQ and strategic high-pass filtering on side channels (cutting below ~130 Hz) to tighten bass response while widening the stereo field for improved separation and spaciousness.
Each of these techniques requires a delicate touch and deep understanding of how they interact with each other and the source material. EQ in mastering is typically much more subtle than in mixing, often involving broad, gentle curves rather than sharp cuts or boosts. The goal is enhancement rather than correction – if major corrective EQ is needed, it’s usually better addressed in the mix.
Mastering compression differs significantly from mix bus compression in both application and character. While mix bus compression might be more aggressive to create glue and attitude, mastering compression focuses on subtle dynamic control that maintains the music’s natural breathing while providing consistency across different sections of the song.
The art of limiting lies in achieving loudness without sacrificing musicality. Modern transparent limiters can achieve significant level increases with minimal audible artifacts when used skillfully. The key is understanding when enough is enough – over-limiting is one of the most common mistakes in modern mastering, leading to fatiguing, lifeless sound that pushes listeners away rather than drawing them in.
Loudness and Streaming: Mastering for Modern Platforms
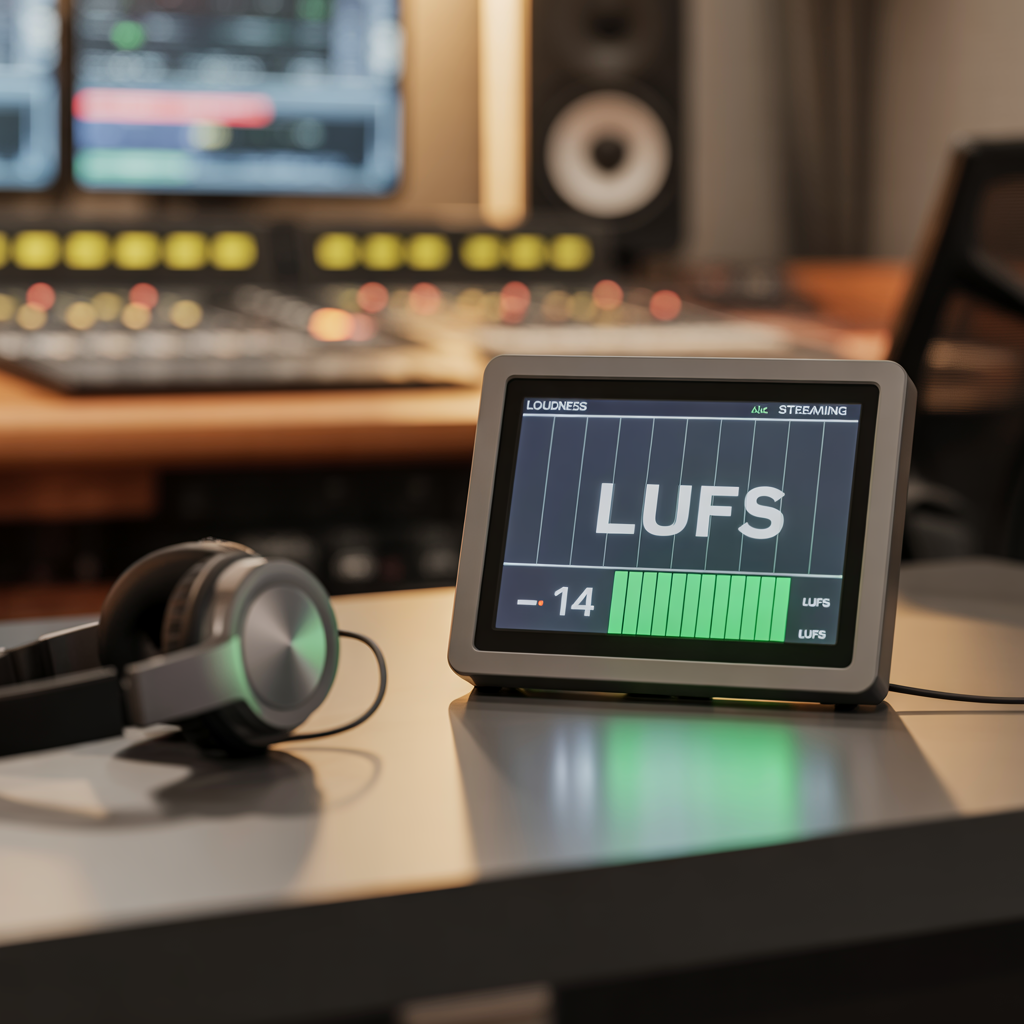
LUFS Target
Streaming services normalize loudness around -14 LUFS, allowing masters to breathe without excessive compression while maintaining competitive volume levels.
Peak Ceiling
Keep true peaks below -1 dBFS to prevent intersample peaks and distortion during encoding and playback on various systems.
Dynamic Range
Maintain at least 3-6 LU of dynamic range to preserve musicality and prevent listener fatigue on streaming platforms.
The streaming revolution has fundamentally changed mastering practices. Understanding loudness normalization is crucial for modern masters. When you master too loud, streaming services will turn your track down, potentially making it sound dull compared to properly mastered tracks that hit the target loudness naturally.
Use professional loudness meters like iZotope Insight, Youlean Loudness Meter, or TC Electronic Clarity M to monitor integrated loudness, short-term loudness, and true peak levels throughout your mastering process.
Loudness normalization has leveled the playing field, ending the destructive “loudness war” that plagued music for decades. Artists no longer need to sacrifice dynamics for competitive volume, as all tracks are normalized to similar perceived loudness levels. This shift has allowed mastering engineers to focus on sound quality rather than just maximum loudness.
Different streaming platforms have slightly different normalization targets and algorithms, but mastering to -14 LUFS integrated loudness provides the best compromise across all major services. This target allows for sufficient headroom to maintain dynamics while ensuring your track won’t be turned down significantly during playback.
Understanding the relationship between integrated loudness, momentary loudness, and peak levels is essential for streaming optimization. A track that measures -14 LUFS integrated but has excessive peak limiting may sound worse than a -16 LUFS track with better dynamics when both are normalized by streaming services. The key is achieving the right balance of loudness, dynamics, and peak control.
Using Reference Tracks and Monitoring for Better Results

Choose Quality References
Select genre-appropriate, professionally mastered reference tracks in lossless formats that represent the sound quality and character you want to achieve with your master.
Multi-System Monitoring
Test your master on multiple playback systems including studio monitors, headphones, car speakers, and smartphones to ensure consistent translation across all listening environments.
Fresh Ear Approach
Take regular breaks and return with fresh ears to avoid listener fatigue and maintain objectivity throughout the mastering process for better decision-making.
Reference tracks serve as your north star during mastering, providing a benchmark for tonal balance, dynamics, and overall sound character. Choose references that were mastered by respected engineers and that represent the best examples of your genre. Avoid using heavily compressed or poorly mastered tracks as references, as they can lead you astray.
The art of referencing involves more than just A/B comparison – it requires critical listening to understand why certain tracks sound the way they do. Listen for frequency balance, stereo width, compression character, and overall loudness. Try to identify specific qualities that make your references appealing and work to incorporate similar characteristics into your master.
Monitoring environment plays a crucial role in mastering success. Your primary monitoring system should be accurate and well-calibrated, but checking your master on various systems reveals how it will sound in the real world. Consumer playback systems often have frequency response anomalies that can expose problems not apparent on studio monitors.
Ear fatigue is a real phenomenon that can lead to poor mastering decisions. High-frequency hearing sensitivity decreases with extended listening, leading to excessive brightness in masters. Similarly, prolonged exposure to loud music can reduce dynamic perception. Taking breaks and returning with fresh ears helps maintain perspective and leads to more balanced, musical results.

Common Pitfalls and How to Avoid Them
Over-Processing Trap
Over-compressing or over-limiting kills dynamics and causes listener fatigue. Use processing judiciously – if you can hear it working, you might be using too much. Subtlety is the hallmark of professional mastering.
Headroom Neglect
Ignoring headroom leads to clipping and distortion during mastering processing. Always leave sufficient headroom in your mix, and monitor peak levels carefully throughout the mastering chain to prevent digital overs.
Visual Over-Reliance
Relying solely on visual meters without trusting your ears can result in unnatural, unmusical sound. Meters are guides, not rulers – use them to inform decisions, but let your ears make the final call.
Monitoring Mistakes
Neglecting room acoustics and monitoring quality can mislead your mastering decisions. Invest in proper acoustic treatment and quality monitors, or learn your system’s limitations through extensive reference comparison.
The most common mastering mistake is trying to fix mix problems that should have been addressed earlier in the production chain. While mastering can enhance and polish, it cannot perform miracles on poorly balanced or problematic mixes. If fundamental issues exist, it’s often better to return to the mixing stage rather than trying to mask problems with mastering processing.
Another frequent error is chasing loudness at the expense of musicality. The loudness wars mentality persists despite streaming normalization, leading many to over-limit their masters. Remember that a dynamic, punchy master at -16 LUFS will often sound better than a squashed master at -8 LUFS, especially after streaming normalization.
Preset reliance is another common pitfall. While mastering software presets can provide starting points, every song is unique and requires individual attention. Blindly applying presets without listening and adjusting for the specific material often leads to generic, unsatisfying results that don’t serve the music.
DIY Mastering Tools and When to Seek Professional Help
Modern Software Solutions
Tools like iZotope Ozone 12, FabFilter Pro-Q 3, and Tonal Balance Control offer powerful mastering suites accessible to beginners, with AI-assisted features and visual feedback to guide your decisions.
Guided Processing
These applications provide EQ, compression, limiting, and stereo enhancement with intelligent presets, real-time visual analysis, and educational resources to help you understand the mastering process.
Professional Partnership
However, for best results, especially for commercial releases, consider having a professional mastering engineer review or finalize your work to ensure industry-standard results and objective perspective.
The democratization of mastering tools has made it possible for bedroom producers to achieve professional-sounding results. Modern mastering suites include sophisticated algorithms, AI-assisted processing, and educational resources that can guide newcomers through the mastering process. These tools have lowered the barrier to entry significantly.
Machine learning and AI have begun to play important roles in mastering software, offering intelligent starting points and real-time suggestions based on analysis of professional masters. While these technologies can’t replace human judgment and creativity, they provide valuable assistance, especially for those learning the craft.
Despite technological advances, there’s still significant value in working with experienced mastering engineers. They bring not just technical expertise but also aesthetic judgment, genre knowledge, and the ability to hear your music with fresh, trained ears. For important releases, the investment in professional mastering often pays dividends in improved sound quality and commercial viability.
The decision between DIY and professional mastering often comes down to budget, timeline, and the importance of the release. For learning purposes, demos, or tight-budget projects, modern DIY tools can produce excellent results. For singles, albums, or commercial releases where sound quality directly impacts success, professional mastering remains the gold standard.
Conclusion: Elevate Your Sound with Mastering Mastery

Science Meets Art
Mastering combines technical precision with artistic vision, requiring both analytical skills and creative intuition to serve the music effectively.
Critical Listening
Developing your ear through practice, reference comparison, and varied monitoring environments is essential for mastering success.
Right Tools
Quality monitoring, accurate metering, and appropriate processing tools provide the foundation for professional mastering results.
Serve the Song
Every mastering decision should enhance the musical message and emotional impact of your work, not just technical specifications.
Mastering represents your final opportunity to enhance your music before it reaches listeners. Whether you choose the DIY route or work with professionals, understanding mastering principles empowers you to make better decisions throughout the entire production process. A mix created with mastering in mind will always yield better final results.
The skills you develop in mastering will also improve your mixing abilities. Understanding how subtle frequency adjustments, compression settings, and limiting affect the final sound helps you make better decisions during mixing. This holistic understanding of the production chain leads to more cohesive, professional-sounding music.
Remember that mastering is ultimately about serving the music and the listener experience. Technical perfection means nothing if it doesn’t enhance the emotional impact of your songs. The best masters are often the ones you don’t notice – they simply make the music sound more engaging, more present, and more emotionally compelling.
Invest time in developing your mastering skills, whether through hands-on practice, educational resources, or collaboration with professionals. Your music deserves the care and attention that proper mastering provides, and your listeners will notice the difference. In today’s competitive music landscape, professional mastering isn’t a luxury – it’s an essential component of successful music production.
Hashtags

#AudioMastering
#MusicProduction
#MasteringTips
#SoundEngineering
#MixingAndMastering
#MusicMixing
#LoudnessNormalization
#EQCompression
#DIYMastering
#ProfessionalSound
These carefully selected hashtags will help maximize your content’s visibility across social media platforms and music production communities. Use them strategically to connect with fellow audio engineers, music producers, and artists interested in improving their sound quality. Each hashtag targets specific aspects of the mastering process, from technical techniques to professional development, ensuring broad reach within the audio production ecosystem.

Leave a comment