Approachable wood crafts that build skills and confidence for novice DIYers.

Introduction: Why Start Woodworking Without Fancy Tools?
Woodworking is one of the most rewarding hobbies you can take on, and here’s the best part: you don’t need to invest thousands of dollars in fancy equipment or transform your garage into a professional workshop to get started. Whether you’re looking to create functional pieces for your home, explore your creative side, or simply enjoy the satisfaction of building something with your own hands, woodworking offers endless possibilities that fit perfectly into a weekend schedule.
The misconception that woodworking requires expensive machinery and years of training keeps many people from ever picking up their first piece of wood. In reality, some of the most beautiful and useful projects can be completed with just a handful of basic hand tools that you might already own or can purchase affordably at any hardware store. The focus should be on learning fundamental techniques, understanding how wood behaves, and developing the confidence to tackle increasingly ambitious projects over time.
This comprehensive guide is specifically designed for the complete beginner who wants to dive into woodworking without breaking the bank or feeling overwhelmed by complex techniques. We’ll walk you through practical, achievable projects that deliver real results you can use in your daily life. Each project builds upon the skills learned in the previous one, creating a natural progression that transforms you from nervous novice to confident crafter.

Starting with simple tools and straightforward projects allows you to develop essential skills without the intimidation factor. You’ll learn proper measuring techniques, how to cut straight lines, the importance of sanding and finishing, and basic assembly methods that form the foundation of all woodworking. These weekend projects fit perfectly into busy modern lifestyles, offering a productive and meditative break from screens and stress while creating tangible items you’ll be proud to display or use.

Budget-Friendly Start
No expensive equipment needed—just basic hand tools you can afford
Weekend Projects
Complete satisfying builds in just a few hours of focused work
Build Confidence
Develop skills progressively with each successful project
Practical Results
Create useful items that enhance your living space immediately
Essential Tools for Beginners: Keep It Simple and Affordable
Building your first woodworking toolkit doesn’t require a trip to a specialty store or a four-figure investment. The beauty of starting simple is that you can gradually expand your collection as your skills and project ambitions grow. Focus on quality over quantity—a few well-made hand tools will serve you better than a garage full of cheap equipment that breaks after one use. Let’s break down exactly what you need to get started on your woodworking journey.

Measuring & Marking Tools
A 25-foot tape measure and carpenter’s pencils are your foundation. Add a combination square for checking right angles and marking cut lines. These ensure accuracy in every project.
Cutting Tools
A quality handsaw (crosscut or Japanese pull saw) handles most beginner cuts. Add a coping saw for curves. Manual cutting builds muscle memory and control.
Finishing Tools
Sanding blocks with various grits (80, 120, 220) smooth rough edges. Include a rubber sanding block for comfort and a pack of assorted sandpaper sheets.
Core Hand Tools Starter Kit
- Hammer – 16 oz claw hammer for driving nails and basic assembly work
- Screwdrivers – Phillips and flathead in multiple sizes, or one multi-bit driver
- Tape Measure – 25-foot retractable with clear markings and sturdy lock
- Combination Square – For marking perfect 90° and 45° angles consistently
- Handsaw – Quality crosscut or Japanese-style pull saw for clean cuts
- Sanding Block & Paper – Multiple grits from coarse to fine finishing
- Wood Chisel Set – Basic set of 3-4 chisels for detail work and mortises
- Clamps – 2-4 bar clamps or C-clamps to hold pieces during assembly
Optional Power Tool Upgrades
While not essential for beginning, these two tools can significantly speed up your workflow once you’re comfortable with hand tools:
- Cordless Drill/Driver – Makes drilling pilot holes and driving screws much faster. Look for 18-20V models with two batteries. Costs $80-150 for decent quality.
- Jigsaw – Handles curves and detailed cuts that are tedious by hand. A $50-70 corded jigsaw works perfectly for occasional use.
Safety Gear (Non-Negotiable)
- Safety Glasses – Protect eyes from sawdust and flying debris
- Dust Mask – N95 or better for sanding operations
- Work Gloves – Prevent splinters and protect hands during handling
- Hearing Protection – If using any power tools
💡 Smart Shopping Tips
Buy mid-range tools from trusted brands like Stanley, Irwin, or Craftsman. Avoid the cheapest options that break quickly, but don’t feel pressure to buy premium professional-grade tools yet. Check estate sales, garage sales, and online marketplaces for quality vintage hand tools that often outlast modern equivalents. Your entire starter toolkit can cost under $150 if you shop strategically.
Remember that woodworking is a journey, not a destination. Start with these basics and add specialized tools only when specific projects demand them. This approach keeps costs manageable while preventing tool clutter. As you complete more projects, you’ll naturally discover which tools would make your work easier or more enjoyable, and those are the investments worth making. The most important tool isn’t in any kit—it’s patience and willingness to learn from mistakes.
Project 1: Floating Wall Shelf – Practical and Stylish
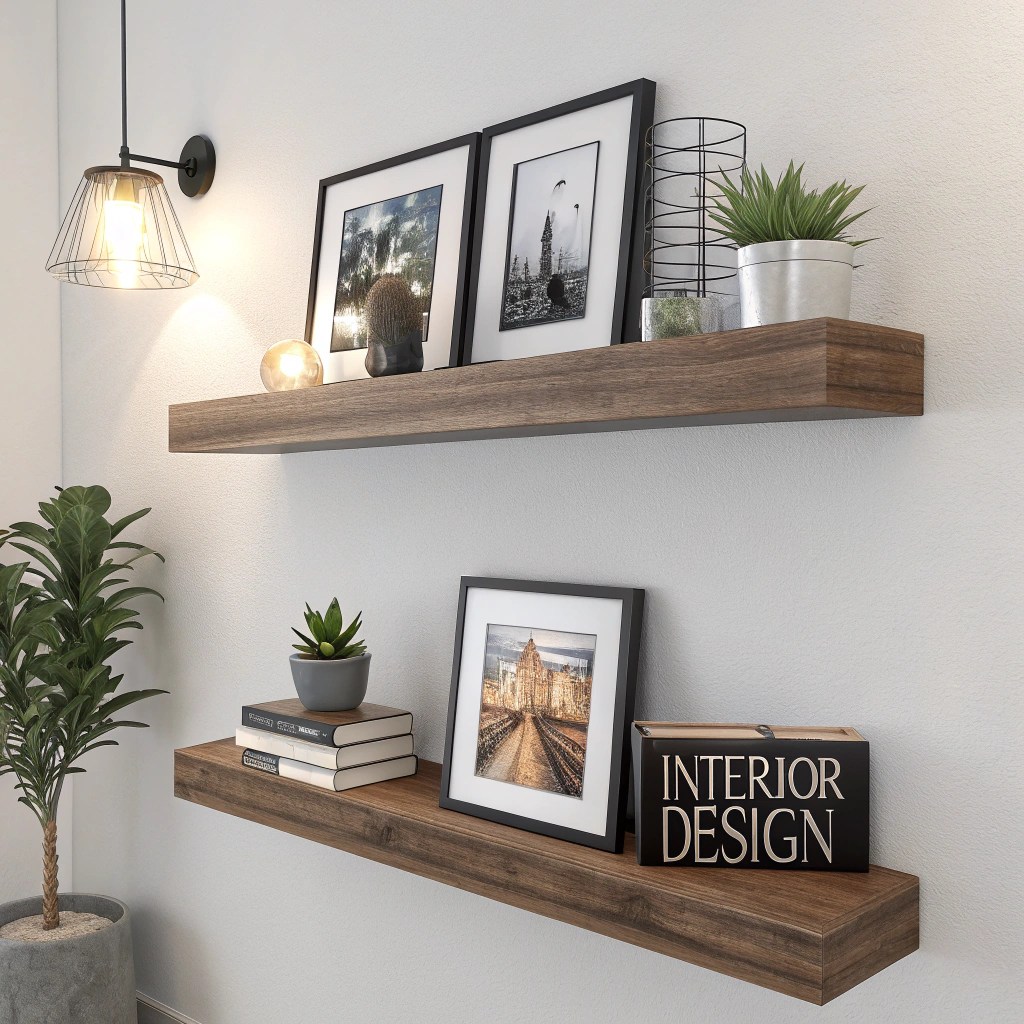
The floating wall shelf is the perfect first project for beginner woodworkers because it delivers impressive visual results with minimal complexity. In less than an hour of active work time, you’ll create a functional piece of furniture that looks professionally crafted. This project teaches fundamental skills like accurate measuring, basic cutting, proper sanding technique, and secure mounting—all essentials you’ll use in every future woodworking endeavor.
What makes this project especially beginner-friendly is the forgiving nature of the design. Minor imperfections in cutting or sanding get hidden during installation, and the simple construction means there are fewer opportunities for mistakes. Plus, the finished shelf solves a real storage problem while adding visual interest to any room.

Gather Materials & Measure
Purchase a pine board (1×6 or 1×8, 24-36 inches long), wood screws, heavy-duty wall anchors, and sandpaper. Measure your intended wall space and mark the board to desired length.
Cut to Size
Using your handsaw, carefully cut the board to length. Take your time—rushing leads to angled cuts. Many hardware stores offer free cutting services if you prefer perfect cuts.
Sand All Surfaces
Start with 80-grit sandpaper to remove rough spots, then progress to 120-grit and finish with 220-grit for a smooth surface. Pay special attention to edges and corners to prevent splinters.
Apply Finish
Choose paint for a modern look or wood stain to highlight natural grain. Apply 2-3 thin coats rather than one thick coat, allowing proper drying time between applications.
Mount Securely
Locate wall studs with a finder or use heavy anchors for drywall. Install bracket hardware on the back of the shelf, ensuring level placement before driving screws into the wall.
Customization Ideas to Make It Your Own
Modern Minimalist
- Matte black or white paint
- Clean lines, no decorative edges
- Concealed bracket system
Rustic Farmhouse
- Natural wood stain or whitewash
- Lightly distressed edges
- Visible metal brackets as accent
Coastal Contemporary
- Soft blue or seafoam paint
- Weathered finish technique
- Rope detail or wrapped edges
🔨 Pro Tip: Level Installation
Always use a level when mounting shelves—your eye can deceive you, but a level never lies. Mark both ends of where the shelf will sit, connect the dots with a pencil line, then install brackets along this line. A crooked shelf is immediately noticeable and can’t be easily fixed once holes are drilled.
This project beautifully demonstrates that sophisticated-looking furniture doesn’t require complicated joinery or specialized equipment. The floating shelf’s clean lines and practical utility make it a satisfying first build that you’ll actually use daily. Once you’ve completed one, you’ll likely want to make more for different rooms, experimenting with various woods, finishes, and lengths. Each successive shelf builds your confidence and refines your technique, proving that the best way to learn woodworking is simply to start building.
Project 2: Simple Key Hanger – Functional Art from Scrap Wood
The key hanger project takes your skills to the next level while introducing the concept of working with reclaimed or scrap wood—a sustainable practice that adds character and tells a story in every piece. This project is perfect for developing your eye for wood selection, practicing precision drilling, and exploring creative finishing techniques that transform a simple board into a personalized decorative accent. Unlike the floating shelf, this build encourages artistic expression alongside functionality.

One of the most appealing aspects of this project is the freedom to work with imperfect materials. That weathered pallet wood with nail holes and natural splitting? It becomes a feature, not a flaw. The slightly warped barn board with varying thickness? It adds rustic charm. This project teaches you to see beauty in imperfection and work with materials as they are, rather than fighting to achieve flawless uniformity.
The key hanger is also wonderfully forgiving for beginners. If your drill holes aren’t perfectly aligned, the rustic aesthetic actually benefits from slight irregularity. If your finish isn’t uniformly applied, it creates appealing variation. This makes it an ideal confidence-builder that encourages experimentation without the fear of “ruining” the project.

Source & Prepare Wood
Find reclaimed wood from pallets, old fencing, or scrap bins at hardware stores. Clean thoroughly, remove any nails, and cut to desired length (12-24 inches works well). Sand only enough to prevent splinters while preserving character marks.
Plan Hook Placement
Decide on 3-5 hooks depending on length. Space them evenly or create an artistic asymmetrical arrangement. Mark drilling points with pencil, ensuring adequate depth for hook threads without going through the board.
Drill & Install Hardware
Use appropriate drill bit size for your chosen hooks (standard coat hooks or decorative knobs). Drill pilot holes at marked locations, keeping the drill perpendicular to avoid angled holes. Screw in hooks by hand until snug.
Add Hanging Mechanism
Attach keyhole hangers or sawtooth picture hangers to the back, positioned to keep the board level when mounted. Alternatively, drill holes for direct wall mounting with visible screws for an industrial look.
Apply Finish & Personal Touches
Options include: clear polyurethane to preserve natural wood, stain for depth, paint for color, or distressing techniques for vintage appeal. Consider adding burned lettering, stenciled designs, or carved elements for personalization.
Creative Customization Techniques to Explore
Wood Burning (Pyrography)
Use an inexpensive wood-burning tool to add names, inspirational quotes, decorative patterns, or family initials. This technique works especially well on light-colored woods and creates permanent, professional-looking designs that won’t fade or peel like paint.
Distressed Painting
Apply paint in layers of contrasting colors, then sand through the top layers to reveal colors beneath. This creates an aged, vintage appearance. Concentrate sanding on edges and high-wear areas for authentic weathered character.
Stencil Designs
Use pre-made or custom-cut stencils with paint or stain for precise decorative patterns. Secure stencil with tape, apply color with sponge or stipple brush, and carefully remove while wet. Perfect for geometric patterns, botanical motifs, or monograms.
Mixed Material Accents
Incorporate non-wood elements like wrapped jute rope on handles, leather strips as decorative accents, metal corner brackets for industrial style, or ceramic knobs instead of standard hooks for eclectic personality.
This project showcases woodworking’s artistic potential while remaining highly practical. Every time you reach for your keys, you’ll see evidence of your growing skills and creative vision. The key hanger also makes an excellent gift because it’s both useful and personal—you can customize size, style, and finish to match any recipient’s home décor. As you gain confidence, try variations like adding a small shelf above the hooks for mail, incorporating vintage hardware for unique character, or creating themed designs for different rooms. The principles learned here—working with imperfect materials, precise hardware installation, and creative finishing—apply to countless future projects and represent essential intermediate woodworking skills.
Project 3: Step Stool – Handy and Versatile
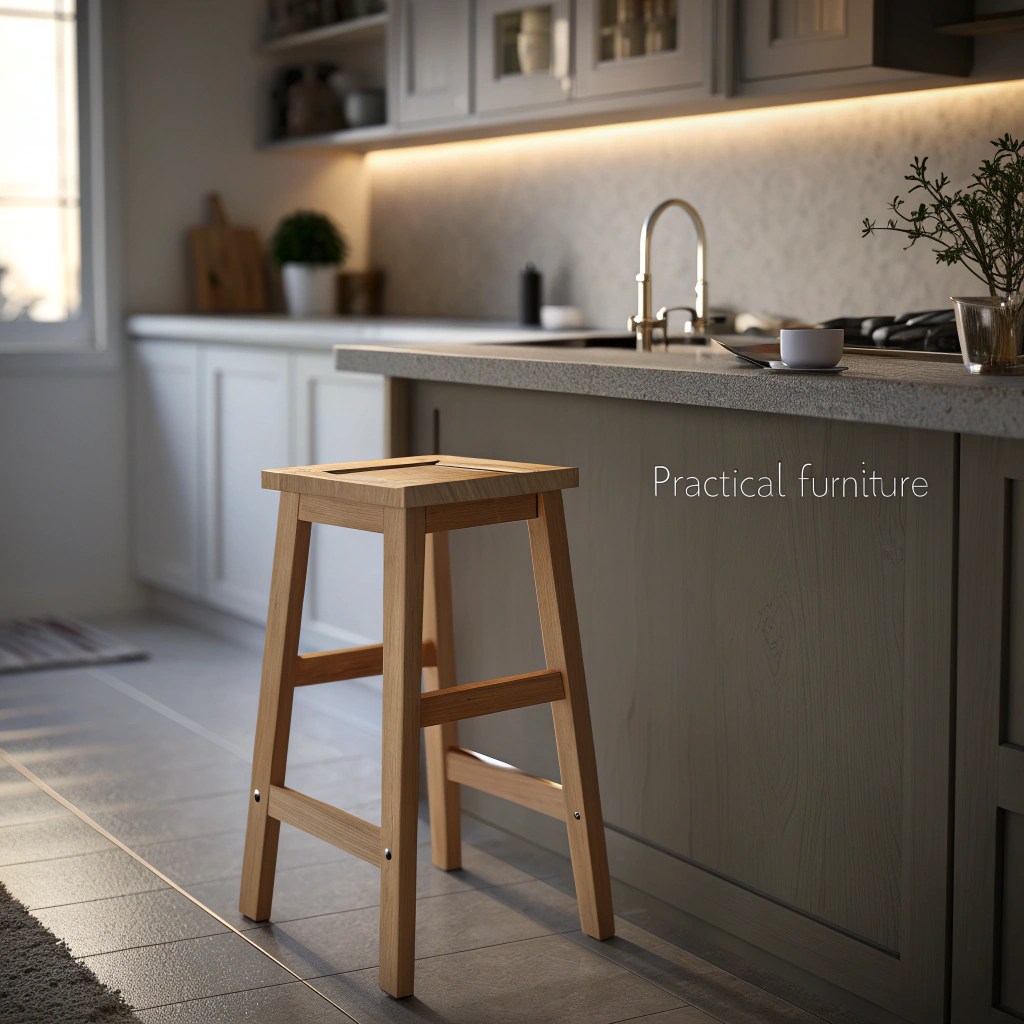
The step stool represents a significant leap forward in your woodworking journey because it introduces three-dimensional assembly, structural considerations, and the satisfaction of creating genuinely useful furniture from scratch. Unlike the previous projects that involved mostly straight cuts and surface mounting, the step stool requires you to think about how pieces fit together, how weight will be distributed, and how joints connect to create a stable structure. This is where woodworking becomes true furniture building.

This project builds confidence through precision—you’ll measure twice and cut once, learning the real meaning of this woodworking adage. The step stool’s modest size makes it manageable for beginners, yet it demands enough attention to detail that completing it successfully proves you’re ready for more complex furniture projects. Plus, the finished product is incredibly practical, helping you reach high shelves, serving as extra seating for guests, providing a boost for children at bathroom sinks, or functioning as a plant stand or display pedestal.
Materials & Structural Components
Top Step Platform
Material: 3/4″ plywood or solid pine board, 12″ x 10″
Purpose: The standing surface—must be sturdy and smooth to safely support body weight without flexing or splintering
Side Supports (2 pieces)
Material: 3/4″ plywood cut in trapezoid shape, 12″ tall, 10″ base, 8″ top
Purpose: Provide structural stability and determine overall height of finished stool
Cross Braces (2-3 pieces)
Material: 1×2 or 1×3 solid wood, cut to 10″ length
Purpose: Connect the side supports to prevent wobbling and add crucial lateral stability
Hardware & Adhesive
Materials: Wood screws (1.5″ and 2″), wood glue, sandpaper (80-220 grit)
Purpose: Secure all joints, create strong bonds, and finish all surfaces smoothly
Assembly Process: Building Your First Furniture
Cut All Components
Measure and mark all pieces precisely. Cut the top platform, two side supports in trapezoid shape, and cross braces. Double-check measurements before cutting—accurate cuts make assembly much easier and ensure a stable final product.
Sand Everything Thoroughly
Before assembly, sand all pieces starting with 80-grit and progressing to 220-grit. Pay extra attention to the top platform since it will contact bare feet or hands. Round over sharp edges for safety and comfort.
Attach Cross Braces
Apply wood glue to brace ends, position against side supports (one near top, one near bottom), and drive screws through sides into brace ends. Use clamps to hold pieces steady while fastening. This creates the frame structure.
Mount Top Platform
Apply wood glue to top edges of side supports. Position platform and ensure it’s centered and squared. Drive screws down through platform into side supports. Use at least 4 screws for secure attachment.
Final Sanding & Finishing
Do final light sanding of any rough spots or glue squeeze-out. Apply your choice of finish: paint for colorful accent piece, stain for natural wood beauty, or clear polyurethane for durability. Apply 2-3 coats for protection.
Why This Project Matters for Skill Development
Precision Measuring
Learn why accuracy matters—pieces must fit together properly or the stool won’t be stable. Develop the habit of measuring twice before every cut.
Assembly Skills
Understand how individual components combine into a functional whole. Learn proper gluing, clamping, and fastening techniques for strong joints.
Structural Thinking
Consider weight distribution, stability, and how furniture must withstand real-world use. This engineering mindset is essential for all future builds.
💪 Pro Tip: Test Before Finishing
Before applying any finish, test the stool’s stability by gently standing on it. Check for wobbling or flexing. If it feels unstable, add an additional cross brace or reinforce existing joints with extra screws. It’s much easier to make structural adjustments before finish is applied. A well-built step stool should feel rock-solid with no movement when stepped on.
Completing this step stool marks a significant milestone in your woodworking journey. You’ve now progressed from simple flat projects to three-dimensional furniture assembly, learning skills that transfer directly to chairs, tables, cabinets, and countless other builds. The step stool project teaches problem-solving (what do you do when pieces don’t align perfectly?), patience (rushing assembly creates weak joints), and the importance of planning (understanding build sequence prevents mistakes). Every time you use your handmade step stool, you’ll remember that you built it yourself with basic tools and determination—and that confidence will fuel your next woodworking adventure, whatever it may be.
Related Hashtags for Content Distribution:
#BeginnerWoodworking #DIYWoodProjects #WeekendWoodworking #SimpleWoodworking #WoodworkingForBeginners #HandToolWoodworking #DIYFurniture #BudgetWoodworking #WoodworkingProjects #LearnWoodworking

Leave a comment